Mount-It! MI-709 Bedienungsanleitung
Lesen Sie kostenlos die 📖 deutsche Bedienungsanleitung für Mount-It! MI-709 (7 Seiten) in der Kategorie Unterstützung für Flachbildschirme. Dieser Bedienungsanleitung war für 8 Personen hilfreich und wurde von 2 Benutzern mit durchschnittlich 4.5 Sternen bewertet
Seite 1/7
English
1
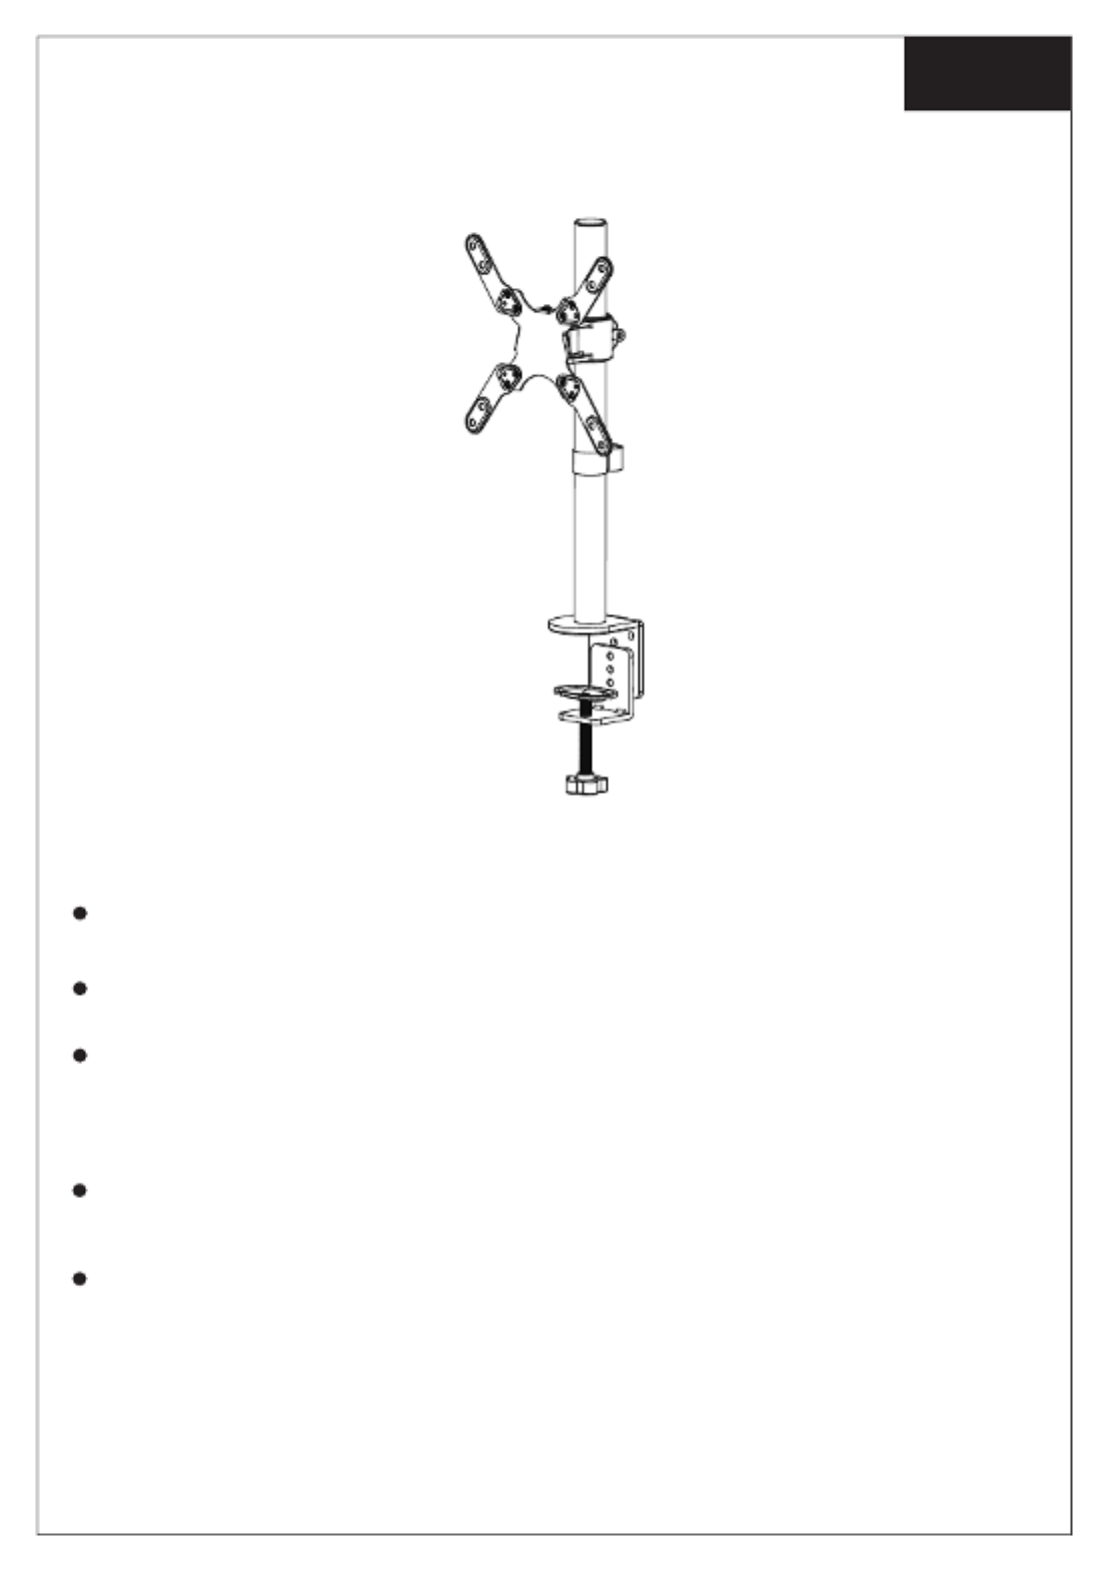
Installation Instruction
UNPACKING INSTRUCTIONS
IMPORTANT SAFETY INFORMATION
Carefully open the carton, remove contents and lay out on cardboard or other protective
surface to avoid damage.
Check package contents against the Supplied Parts List in the next page to assure that all
components were received undamaged. Do not use damaged or defective parts.
Carefully read all instructions before attempting installation.
Install and operate this device with care. Please read this instruction before installation, and
carefully follow all instructions contained herein. Use proper safety equipment during installa-
tion.
Please call a qualied installation contractor for help if you don't understand these directions or
have any doubts about the safety of the installation.
Do not use this product for any purpose or in any conguration not explicitly specied in this
instruction. We hereby disclaims any and all liability for injury or damage arising from incorrect
assembly, incorrect mounting, or incorrect use of this product.

2
Supplied Parts List
(2)Adapter-n1(1)Wire Clip-m (2)Adapter-n2 (8)M4x10 Bolt-o
(4)M4 Spacer-w(4)M4x30 Bolt-t
(1)Allen Key-y (1)Wrench-z
(1)Support Plate-f(1)M10 Bolt-e (1)M10 Washer-g (1)Spring Washer-h
(1)“C” Clamp-b
(1)Pole-a (1)“C” Clamp Brace-c (1)Monitor Arm-d
(3)M5x14 Bolt-j
(1)Grommet Base
Plate-i (2)M8x12 Bolt-k (1)VESA Plate-l
(8)M4 Nut-q(12)M4 Washer-p (1)M4X6 Bolt-r (4)M4X12 Thumb Bolt-s
(4)M6x20 Bolt-u (4)M8x20 Bolt-v
(4)M6/M8 Spacer-x

3
Install the Pole to the Desktop
Step 1
1. Install the “C” -Clamp Brace (c) to the Pole (a)
using 3pcs M5x14 Bolts (j), and tighten using
the Allen Key (y), see Figure 1.
2. Install the “C” -Clamp (b) to the pole assembly
according to the thickness of the desktop. The
thickness can be changed to three positions.
Connect it using 2pcs M8x12 Bolts (k), and
tighten using the Allen Key (y). Tighten the
“C” -Clamp to the desktop using the plastic
knob, see Figure 2.
If the existing grommet hole comes with a plas-
tic protector, remove it to ensure a at surface
before installing the desk mount.
1. Install the Grommet Base Plate (i) to the Pole
(a) using 3pcs M5x14 Bolts (j), and tighten using
the Allen Key (y), see Figure 3.
2. Position the Pole (a) on the mounting surface
and secure using the Support Plate (f ), M10
Washer (g), Spring Washer (h) and M10 Bolt (e).
Fasten the M10 Bolt using provided Wrench (z),
see Figure 4.
Option A: Desk Clamp Install a
Figure 1
c
j
Figure 2
k
v
b
Plastic Knob
a
Figure 3
i
j
Figure 4
f
e
g
h
Option B: Grommet Base Install
Existing Grommet Hole Installation
Produktspezifikationen
| Marke: | Mount-It! |
| Kategorie: | Unterstützung für Flachbildschirme |
| Modell: | MI-709 |
Brauchst du Hilfe?
Wenn Sie Hilfe mit Mount-It! MI-709 benötigen, stellen Sie unten eine Frage und andere Benutzer werden Ihnen antworten
Bedienungsanleitung Unterstützung für Flachbildschirme Mount-It!

4 September 2024
4 September 2024
4 September 2024
4 September 2024
4 September 2024
4 September 2024
4 September 2024
4 September 2024
4 September 2024
4 September 2024
Bedienungsanleitung Unterstützung für Flachbildschirme
- Unterstützung für Flachbildschirme Samsung
- Unterstützung für Flachbildschirme Da-Lite
- Unterstützung für Flachbildschirme HP
- Unterstützung für Flachbildschirme Kensington
- Unterstützung für Flachbildschirme Manhattan
- Unterstützung für Flachbildschirme Schwaiger
- Unterstützung für Flachbildschirme König
- Unterstützung für Flachbildschirme Atlantic
- Unterstützung für Flachbildschirme Pyle
- Unterstützung für Flachbildschirme Luxor
- Unterstützung für Flachbildschirme One For All
- Unterstützung für Flachbildschirme Abus
- Unterstützung für Flachbildschirme Hitachi
- Unterstützung für Flachbildschirme Icy Box
- Unterstützung für Flachbildschirme Cabstone
- Unterstützung für Flachbildschirme Techly
- Unterstützung für Flachbildschirme Vogel's
- Unterstützung für Flachbildschirme SilverStone
- Unterstützung für Flachbildschirme Vision
- Unterstützung für Flachbildschirme InFocus
- Unterstützung für Flachbildschirme NEC
- Unterstützung für Flachbildschirme Marantz
- Unterstützung für Flachbildschirme Monoprice
- Unterstützung für Flachbildschirme Fellowes
- Unterstützung für Flachbildschirme Iiyama
- Unterstützung für Flachbildschirme Kogan
- Unterstützung für Flachbildschirme Acco
- Unterstützung für Flachbildschirme HQ
- Unterstützung für Flachbildschirme Sanus
- Unterstützung für Flachbildschirme B-Tech
- Unterstützung für Flachbildschirme Barkan
- Unterstützung für Flachbildschirme Ergotron
- Unterstützung für Flachbildschirme NewStar
- Unterstützung für Flachbildschirme Insignia
- Unterstützung für Flachbildschirme Speaka
- Unterstützung für Flachbildschirme Digitus
- Unterstützung für Flachbildschirme Reflecta
- Unterstützung für Flachbildschirme BlueBuilt
- Unterstützung für Flachbildschirme Peerless-AV
- Unterstützung für Flachbildschirme Ematic
- Unterstützung für Flachbildschirme GPX
- Unterstützung für Flachbildschirme Peerless
- Unterstützung für Flachbildschirme Premier
- Unterstützung für Flachbildschirme Steren
- Unterstützung für Flachbildschirme AMX
- Unterstützung für Flachbildschirme Ultimate
- Unterstützung für Flachbildschirme BakkerElkhuizen
- Unterstützung für Flachbildschirme Chief
- Unterstützung für Flachbildschirme Siig
- Unterstützung für Flachbildschirme StarTech.com
- Unterstützung für Flachbildschirme APart
- Unterstützung für Flachbildschirme Planar
- Unterstützung für Flachbildschirme Proaim
- Unterstützung für Flachbildschirme Panduit
- Unterstützung für Flachbildschirme Konig & Meyer
- Unterstützung für Flachbildschirme Bretford
- Unterstützung für Flachbildschirme Atdec
- Unterstützung für Flachbildschirme Premier Mounts
- Unterstützung für Flachbildschirme Gabor
- Unterstützung für Flachbildschirme V7
- Unterstützung für Flachbildschirme Valueline
- Unterstützung für Flachbildschirme Elite Screens
- Unterstützung für Flachbildschirme Rocstor
- Unterstützung für Flachbildschirme Equip
- Unterstützung für Flachbildschirme Avteq
- Unterstützung für Flachbildschirme Zaor
- Unterstützung für Flachbildschirme CTA Digital
- Unterstützung für Flachbildschirme Unicol
- Unterstützung für Flachbildschirme Amer
- Unterstützung für Flachbildschirme Bell'O
- Unterstützung für Flachbildschirme Dataflex
- Unterstützung für Flachbildschirme Anthro
- Unterstützung für Flachbildschirme My Wall
- Unterstützung für Flachbildschirme SMS Smart Media Solutions
- Unterstützung für Flachbildschirme Kondator
- Unterstützung für Flachbildschirme SmartMetals
- Unterstützung für Flachbildschirme Multibrackets
- Unterstützung für Flachbildschirme Walker Edison
- Unterstützung für Flachbildschirme LTN Technologies
- Unterstützung für Flachbildschirme Heckler
- Unterstützung für Flachbildschirme Helder
Neueste Bedienungsanleitung für -Kategorien-

16 Oktober 2024
15 Oktober 2024
4 Oktober 2024
2 Oktober 2024
2 Oktober 2024
2 Oktober 2024
1 Oktober 2024
1 Oktober 2024
1 Oktober 2024
1 Oktober 2024