Joy-it MPU6050 Bedienungsanleitung
Lies die bedienungsanleitung für Joy-it MPU6050 (9 Seiten) kostenlos online; sie gehört zur Kategorie Detektor. Dieses Handbuch wurde von 49 Personen als hilfreich bewertet und erhielt im Schnitt 5.0 Sterne aus 4 Bewertungen. Hast du eine Frage zu Joy-it MPU6050 oder möchtest du andere Nutzer dieses Produkts befragen? Stelle eine Frage
Seite 1/9
www.joy-it.net
Pascalstr. 8 47506 Neukirchen-Vluyn
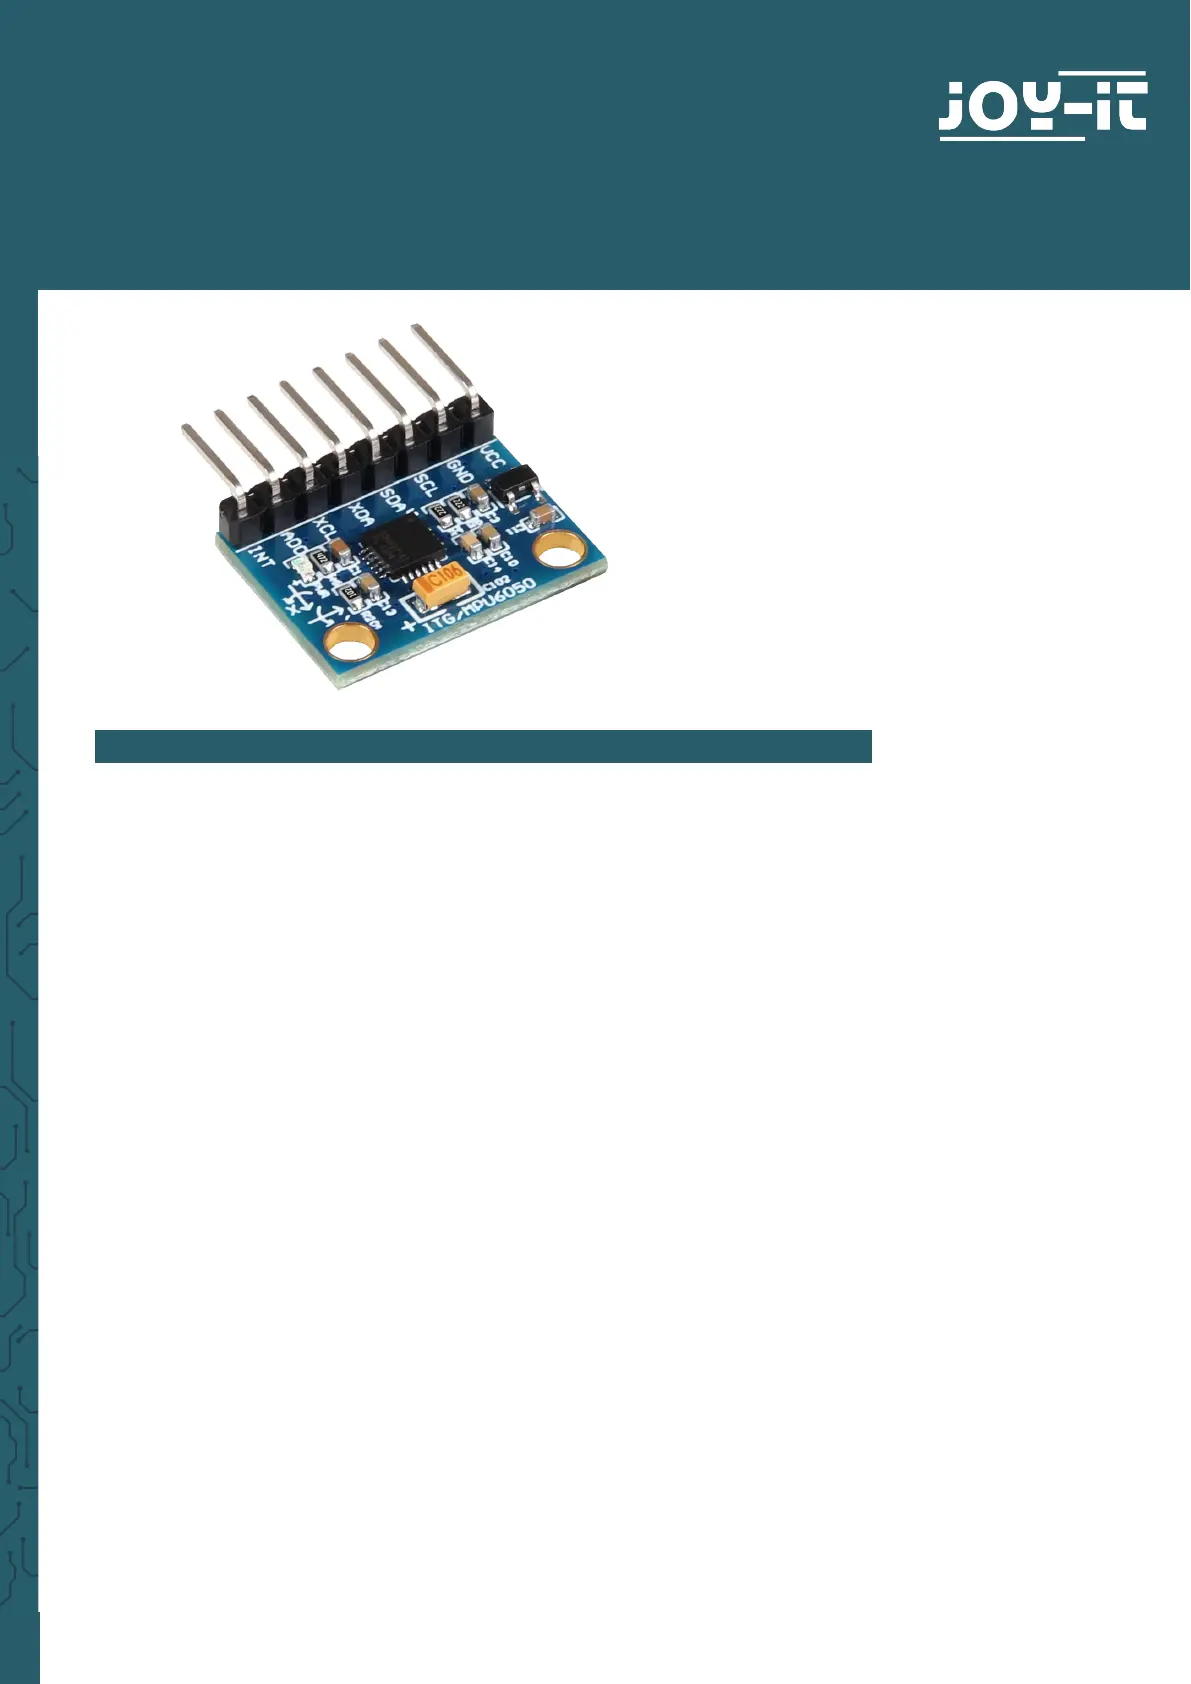
GYROSKOP & BESCHLEUNIGUNGSSENSOR
SEN-MPU6050
1. ALLGEMEINE INFORMATIONEN
Sehr geehrter Kunde,
vielen Dank, dass Sie sich für unser Produkt entschieden haben. Im Folgen-
den zeigen wir Ihnen, was bei der Inbetriebnahme und der Verwendung zu
beachten ist.
Sollten Sie während der Verwendung unerwartet auf Probleme stoßen, so
können Sie uns selbstverständlich gerne kontaktieren.
Produktspezifikationen
| Marke: | Joy-it |
| Kategorie: | Detektor |
| Modell: | MPU6050 |
| Breite: | 25 mm |
| Tiefe: | 20 mm |
| Gewicht: | 1 g |
| Produktfarbe: | Schwarz |
| Höhe: | 7 mm |
| Menge pro Packung: | 1 Stück(e) |
| Kompatibilität: | Joy-iT MPU6050 |
Brauchst du Hilfe?
Wenn Sie Hilfe mit Joy-it MPU6050 benötigen, stellen Sie unten eine Frage und andere Benutzer werden Ihnen antworten
Bedienungsanleitung Detektor Joy-it

20 August 2024
Bedienungsanleitung Detektor
Neueste Bedienungsanleitung für -Kategorien-
30 März 2026
29 März 2026
23 März 2026
22 März 2026
21 März 2026
21 März 2026
20 März 2026
20 März 2026
20 März 2026
20 März 2026